


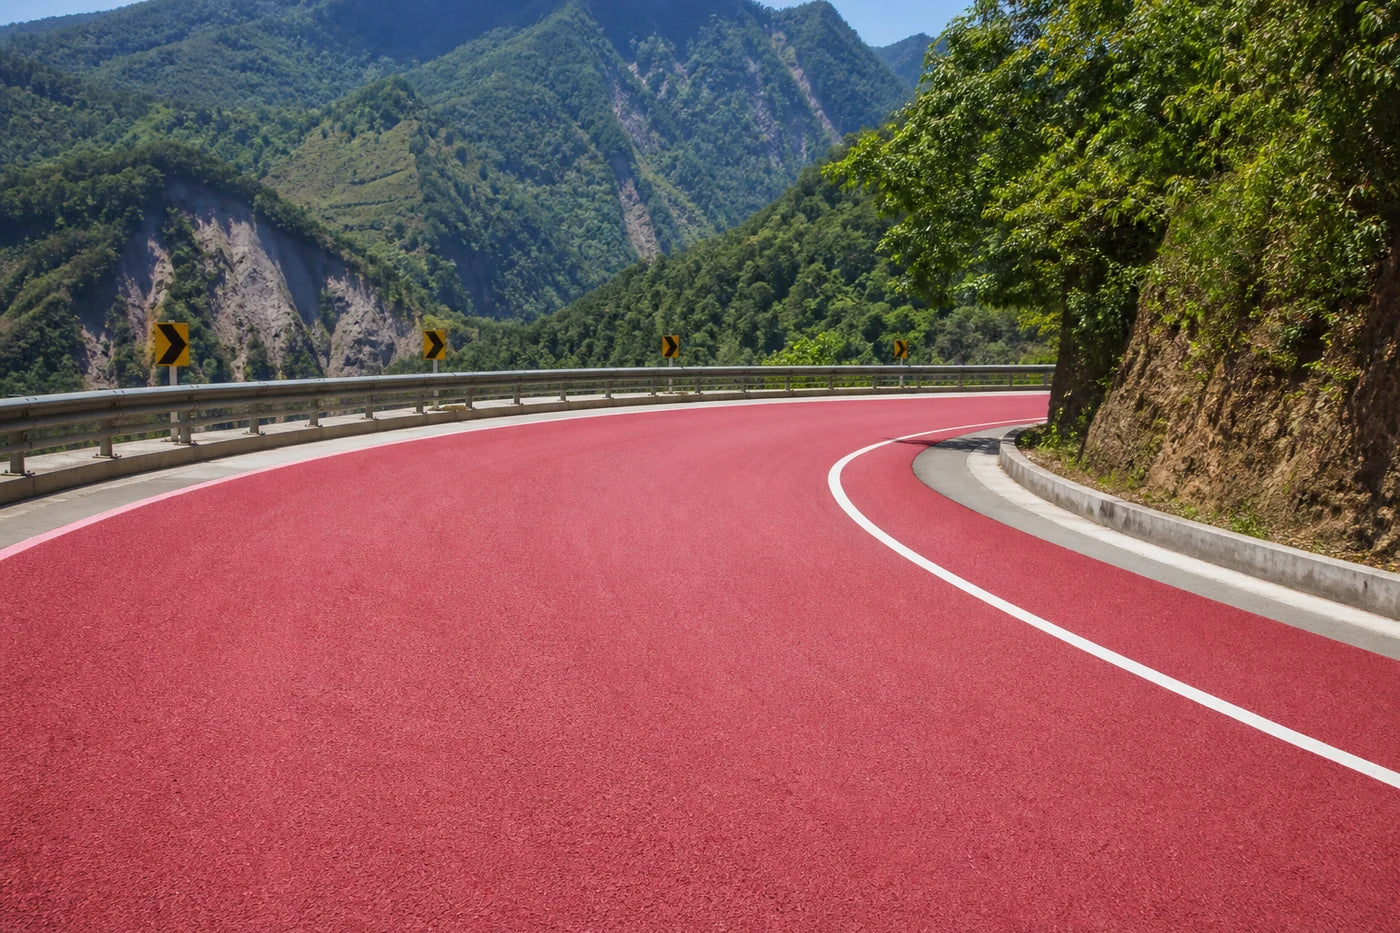
 Highways
 Cycle Lanes
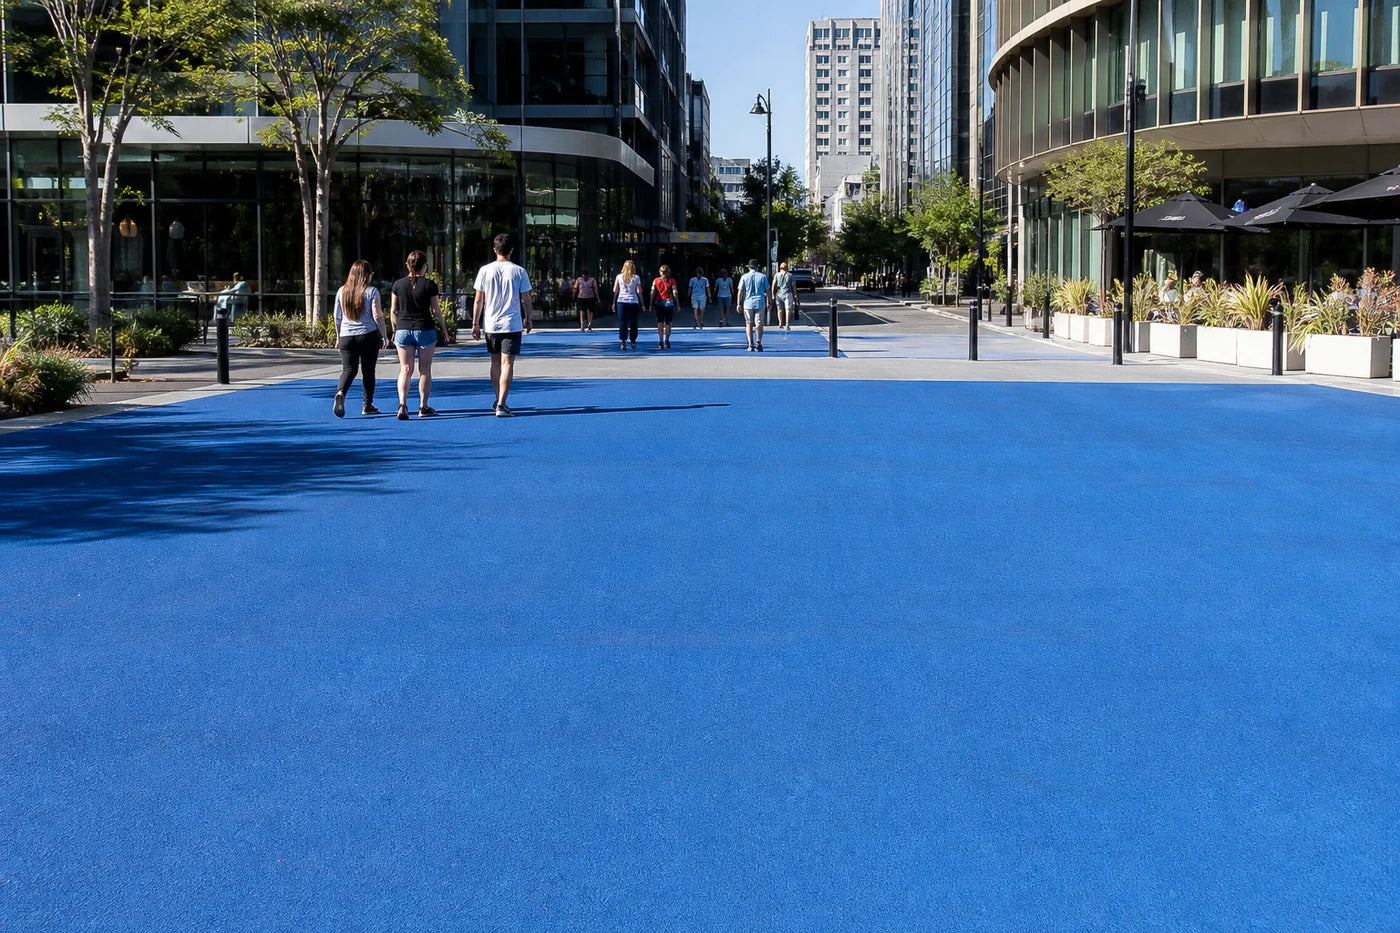 Pedestrian Zones
 Bridges & Tunnels
 Parking
 School Zones
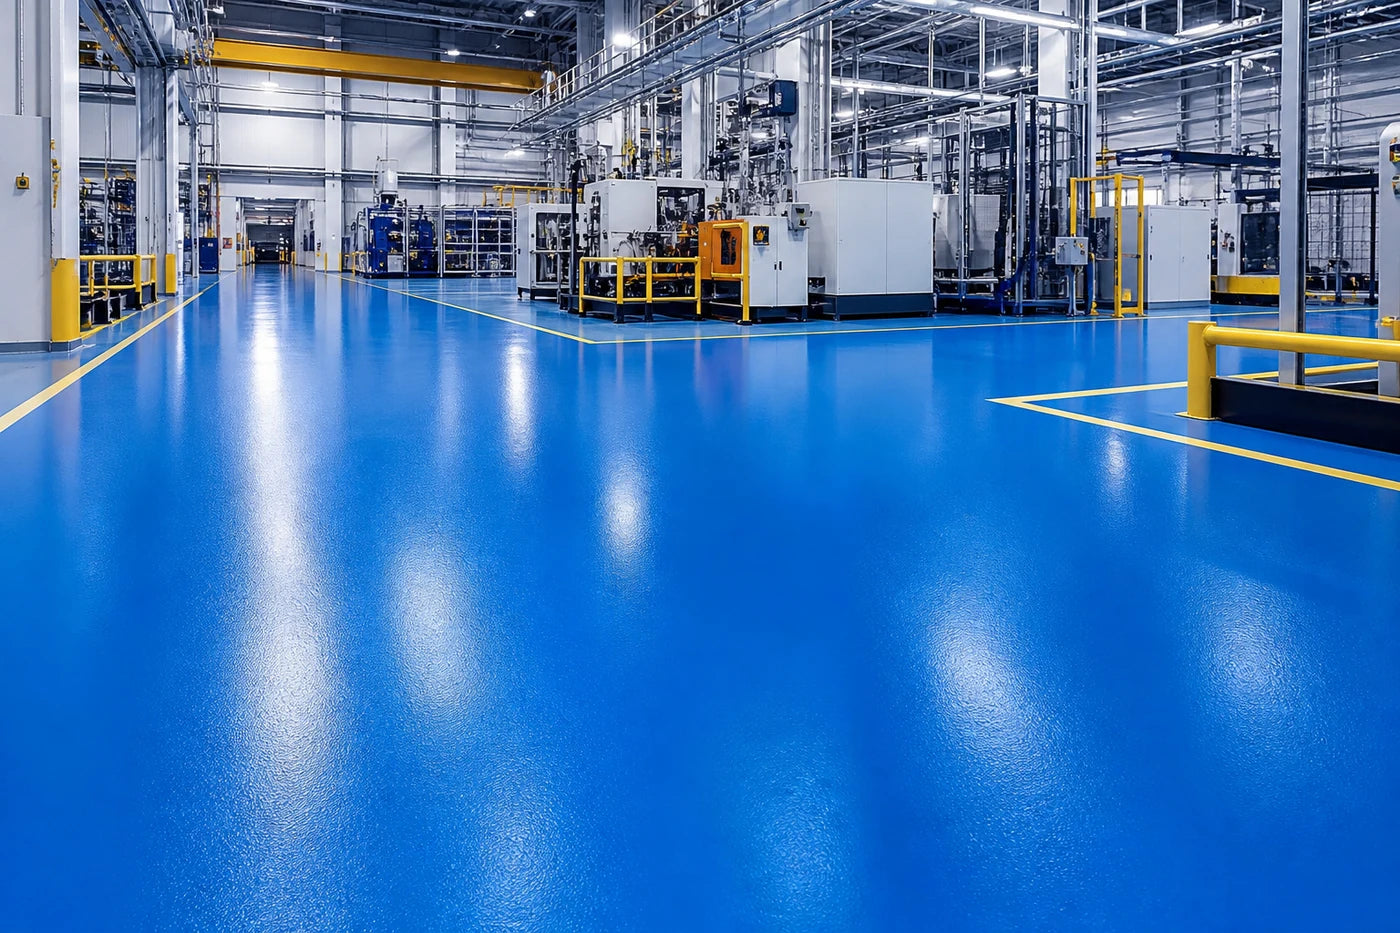 Industrial
 Recreation
Colored Pavement Installation: A Step-by-Step Guide
Colored pavement is widely used for cycle lanes, pedestrian crossings, bus lanes, parking areas, ramps, and other traffic zones where clear visual guidance and surface performance are important. A successful installation depends not only on the colored material itself but also on surface preparation, application control, curing, and final inspection.
The following steps provide a practical overview of the colored pavement installation process.
Step 1: Inspect the Existing Pavement
Before installation, inspect the asphalt or concrete substrate for cracks, potholes, loose material, oil contamination, moisture, and other defects.
Any structural damage should be repaired first. Colored pavement should be installed over a stable surface rather than used to cover underlying pavement problems.
Step 2: Clean and Prepare the Surface
Remove dust, dirt, oil, rubber deposits, loose particles, and other contaminants that could interfere with adhesion.
Depending on the substrate, mechanical cleaning, grinding, sweeping, or pressure washing may be required. Concrete surfaces may need additional preparation to remove laitance or weak surface material.
Step 3: Repair Cracks and Defects
Cracks, joints, and damaged areas should be repaired using materials compatible with the existing pavement and the selected colored surfacing system.
Allow repaired areas to cure properly before continuing with installation.
Step 4: Apply Primer if Required
Some colored pavement systems require a primer to improve adhesion between the substrate and surfacing layer.
The primer should be applied evenly at the recommended coverage rate and allowed to reach the correct condition before the next layer is installed.
Step 5: Apply the Colored Binder
Mix and apply the colored resin or binder according to the system specifications.
Maintaining a consistent application rate is important for achieving uniform thickness, color, and performance. Special attention should be given to edges, joints, curves, and transitions.
Step 6: Add the Aggregate
For anti-slip or high-friction systems, selected aggregate may be broadcast over the binder while it is still receptive.
The aggregate should be distributed evenly to create consistent texture and skid resistance. After curing, excess loose aggregate can be removed.
Step 7: Allow Proper Curing
The completed surface must remain protected from vehicles, cyclists, and pedestrians during curing.
Curing time varies depending on the material, temperature, humidity, pavement conditions, and system specifications. Opening the surface too early can damage the finish and reduce durability.
Step 8: Inspect Before Opening to Traffic
Before reopening the area, check the pavement for uniform color, adequate texture, secure aggregate, complete curing, clean edges, and good adhesion.
Any defects should be corrected before the surface enters service.
Achieving a Durable Colored Pavement
Successful colored pavement installation is a controlled process from substrate preparation through final curing. Correct materials alone cannot compensate for poor preparation or application.
By following the appropriate installation procedure and matching the system to traffic and environmental conditions, contractors can achieve a colored pavement surface that provides visibility, skid resistance, durability, and clear traffic guidance over its intended service life.